
Connect Four Tips and Strategy: How to Win More Games
Connect Four looks like a simple game of dropping discs into a grid. But the gravity mechanic — where discs stack from the bottom up — creates a depth that separates casual players from strategic thinkers. Unlike Tic Tac Toe, which is fully solved on a 3×3 board, Connect Four's 7-column, 6-row board generates over 4 trillion possible positions. This guide teaches you the core strategies that separate winners from losers.
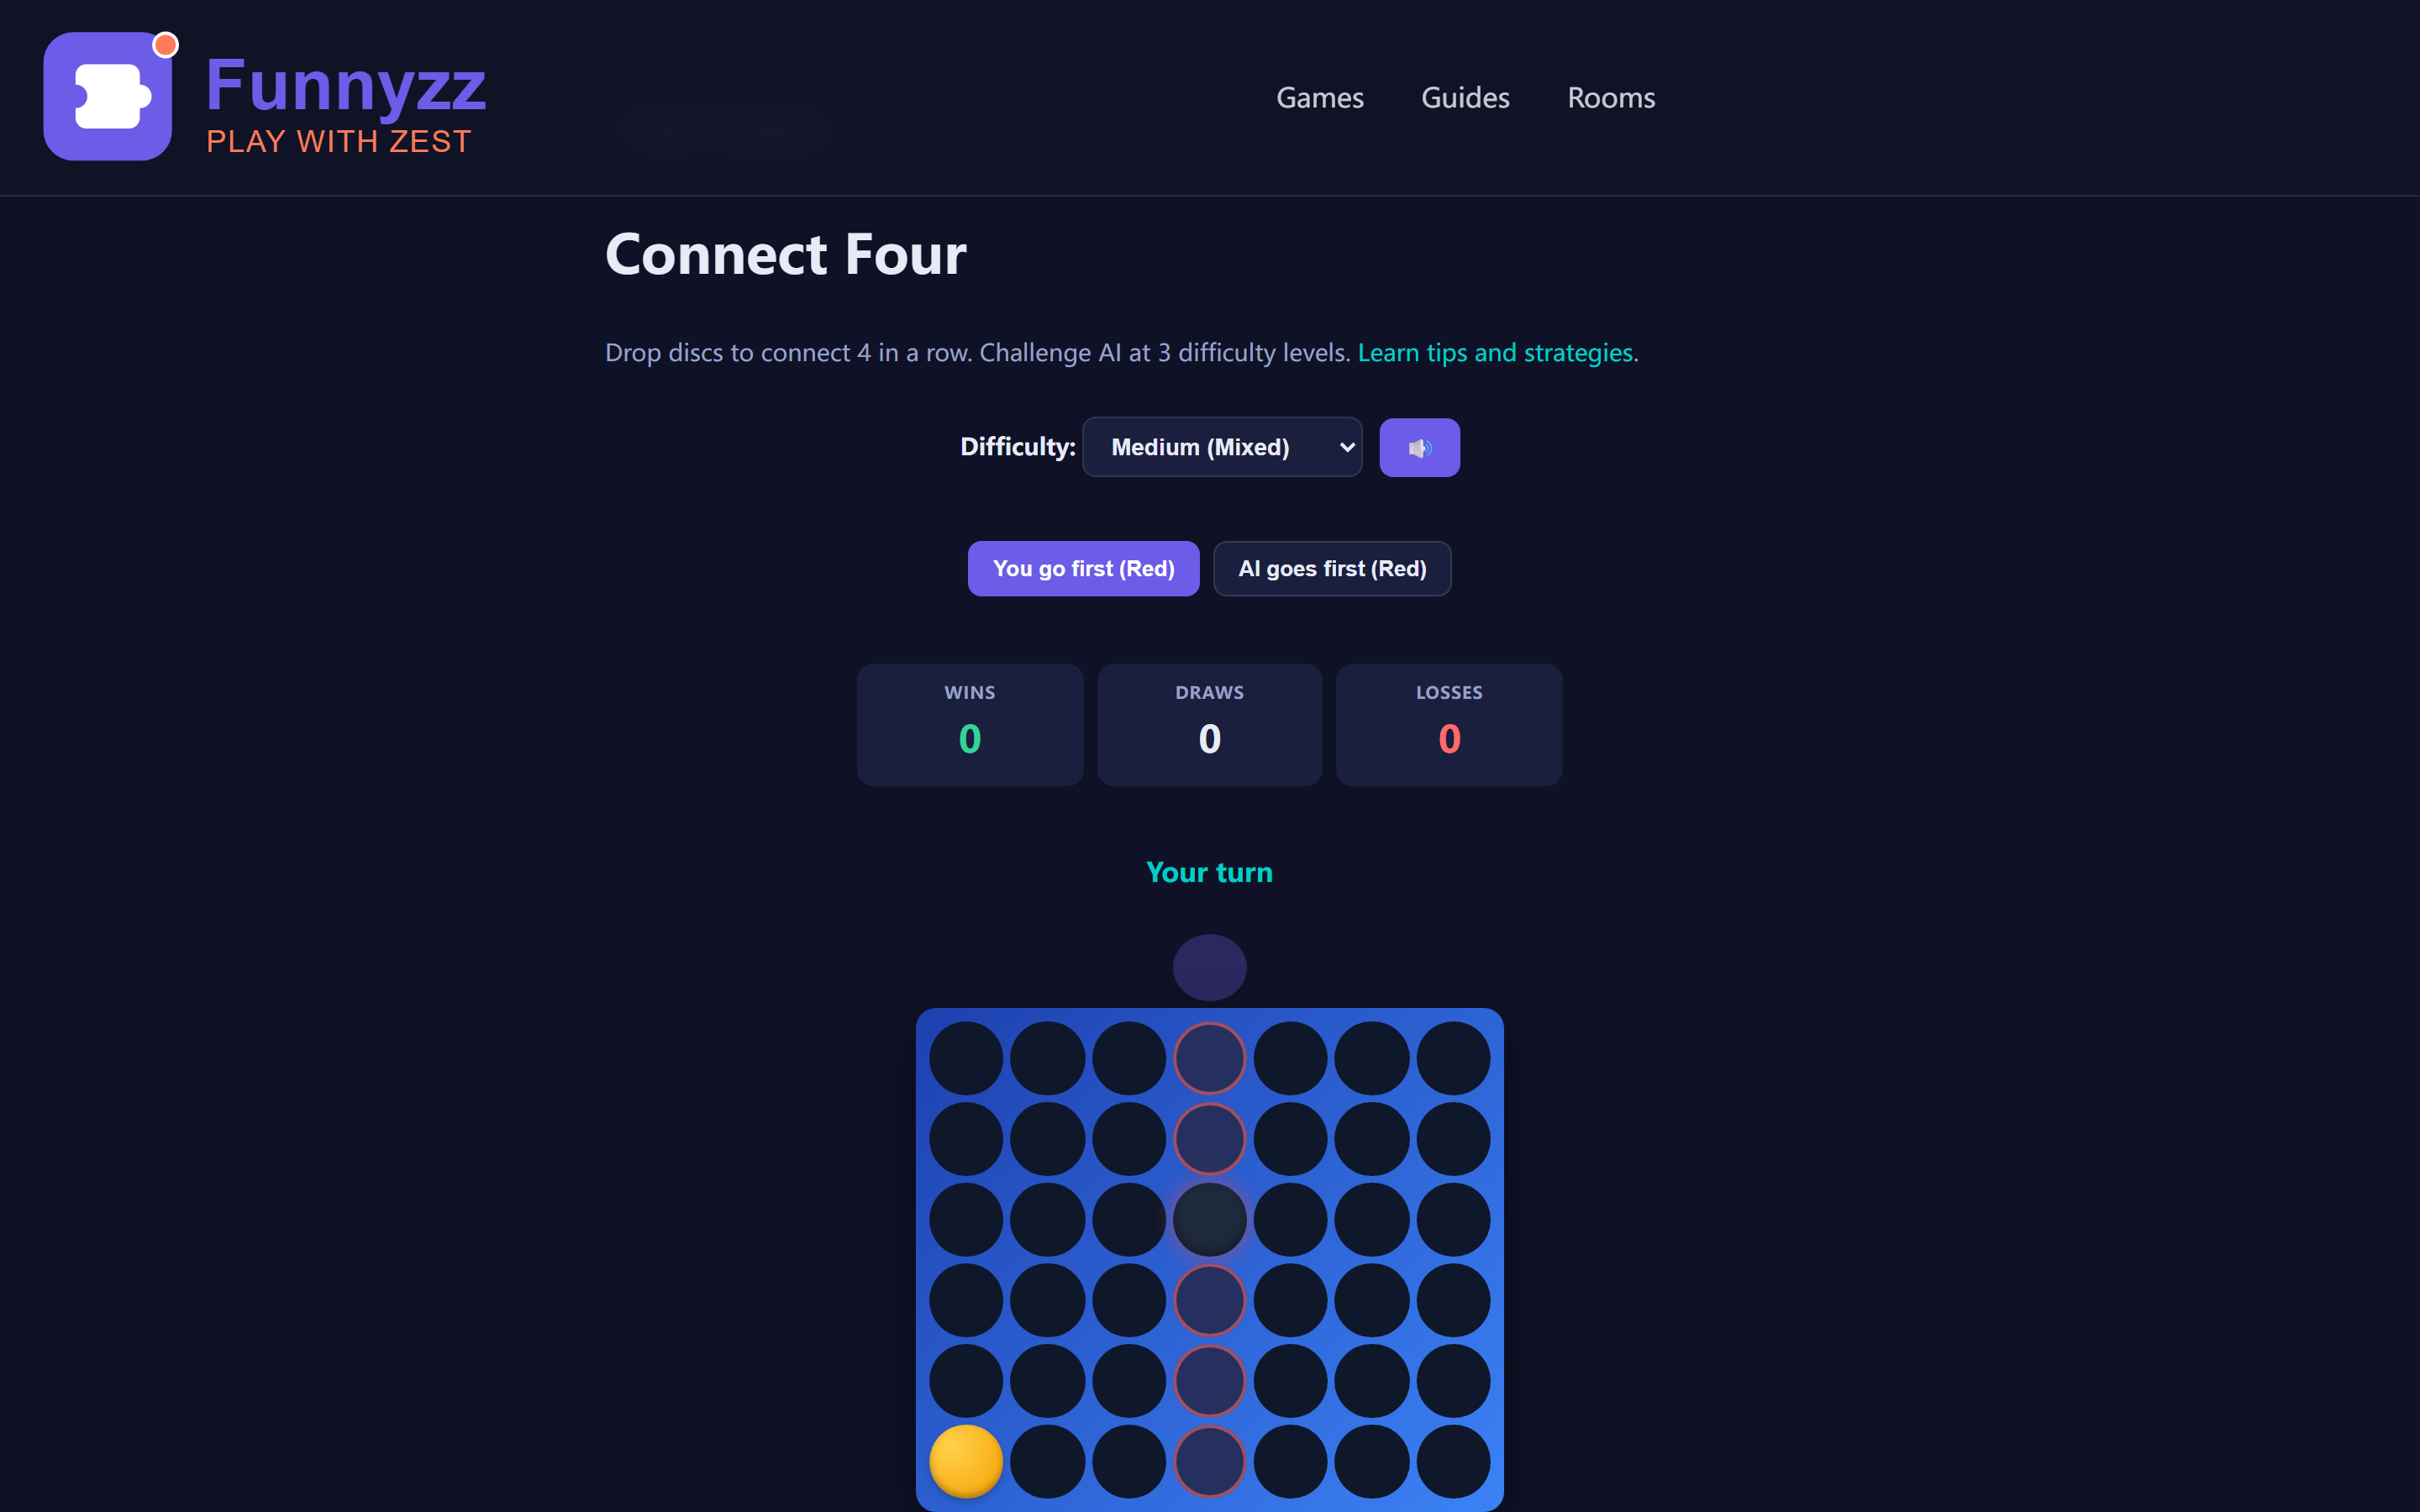
Understanding the Board: The Column Is Your Weapon
In Connect Four, you don't place a disc wherever you want. You drop it into a column, and it falls to the lowest available row. This gravity rule changes everything.
The board has 7 columns and 6 rows. A win requires connecting 4 discs horizontally, vertically, or diagonally. That means there are 69 possible ways to get four in a row on this board: 24 horizontal lines, 21 vertical lines, and 24 diagonal lines (12 going up-right, 12 going up-left).
Column 3 (the center column) is the most valuable real estate on the board. It participates in more winning lines than any other column: one vertical line, multiple horizontal lines depending on row height, and diagonal lines from both directions. Controlling the center column gives you the most options to create threats in multiple directions simultaneously.
Why the Center Column Dominates
Let's visualize why column 3 (the center) is so powerful. Each cell below shows how many winning lines pass through it:
Number of winning lines through each column position
The center column participates in 6 winning lines (horizontal, vertical, and both diagonals), while edge columns only participate in 3. This 2x advantage is why center control is the #1 strategic priority.
  <div class="cell"></div><div class="cell"></div><div class="cell"></div><div class="cell center"></div><div class="cell"></div><div class="cell"></div><div class="cell"></div>
  <div class="cell"></div><div class="cell"></div><div class="cell"></div><div class="cell center"></div><div class="cell"></div><div class="cell"></div><div class="cell"></div>
  <div class="cell"></div><div class="cell"></div><div class="cell"></div><div class="cell center"></div><div class="cell"></div><div class="cell"></div><div class="cell"></div>
  <div class="cell"></div><div class="cell"></div><div class="cell red"></div><div class="cell center red"></div><div class="cell red"></div><div class="cell"></div><div class="cell"></div>
  <div class="cell"></div><div class="cell yellow"></div><div class="cell red"></div><div class="cell center red"></div><div class="cell yellow"></div><div class="cell yellow"></div><div class="cell"></div>
  <div class="cell yellow"></div><div class="cell yellow"></div><div class="cell red"></div><div class="cell center red"></div><div class="cell red"></div><div class="cell yellow"></div><div class="cell"></div>
</div>
<div class="board-label">Center column (highlighted) is the most contested area. Red controls 4 discs in column 3, creating diagonal threats in both directions. Green border shows center column; orange border marks immediate winning threats.</div>
Tip #1: Control the Center Column
The center column (column 3) is the strategic heart of Connect Four. Discs placed here participate in more potential four-in-a-rows than discs in any other column. Players who control the center tend to win more games, especially against opponents who don't understand this principle.
Example: You and your opponent are trading discs in the early game. If you have more discs in column 3 than your opponent, you have more diagonal paths opening up through the middle of the board. When the board fills up, your center control means you created threats on both the left side and right side of the board at the same time.
On your first move, always drop into the center column. This isn't just habit — it mathematically gives you the best starting position. If the center column fills up early, fight for columns 2 and 4 (adjacent to center) as your next priority.
Tip #2: Build Threats from the Bottom Up
Because of gravity, the lower rows fill up first. This means your early-game positioning determines what's possible later. Smart players think about where their discs will land three or four moves ahead, not just where they want to go right now.
Example: You place a red disc in column 2, row 1. On your next turn, you place another red in column 3, row 1. Now you have two adjacent discs at the bottom. Your opponent sees the horizontal threat and blocks on one side. But you planned for this — your next move goes to column 4, creating a diagonal threat that builds off your row 1 discs. You're not just making random drops; you're building a foundation.
The key insight: don't think about where you want your next disc. Think about where you want your fourth disc in a line, then work backward to figure out which columns to fill in what order.
Tip #3: Watch for the "7" Trap
One of the most effective offensive patterns in Connect Four is what experienced players call the "7 trap" — a shape where your discs form the number 7 (or its mirror image). This pattern creates two simultaneous threats that are almost impossible to defend against.
  <div class="cell"></div><div class="cell"></div><div class="cell"></div><div class="cell"></div><div class="cell threat"></div><div class="cell"></div><div class="cell"></div>
  <div class="cell"></div><div class="cell"></div><div class="cell"></div><div class="cell"></div><div class="cell"></div><div class="cell"></div><div class="cell"></div>
  <div class="cell"></div><div class="cell"></div><div class="cell"></div><div class="cell"></div><div class="cell"></div><div class="cell"></div><div class="cell"></div>

  <div class="cell"></div><div class="cell"></div><div class="cell"></div><div class="cell"></div><div class="cell red"></div><div class="cell"></div><div class="cell"></div>

  <div class="cell"></div><div class="cell"></div><div class="cell"></div><div class="cell red"></div><div class="cell red"></div><div class="cell"></div><div class="cell"></div>

  <div class="cell"></div><div class="cell"></div><div class="cell red"></div><div class="cell"></div><div class="cell"></div><div class="cell"></div><div class="cell"></div>
</div>
<div class="board-label">The "7 trap": Red's discs form a shape like the number 7. Orange borders mark the two winning threats — column 4 (horizontal) and the up-right diagonal. Blocking one still loses to the other.</div>
In this position, red threatens to win by completing the horizontal at row 3 (needs one more disc to the right) or the diagonal going up-left from the bottom disc. Your opponent can block one, but the other wins on your next turn.
How to set it up: Start by building a diagonal from the bottom-left toward the upper-right. At the same time, place discs horizontally along a lower row. When these two lines share a disc near the center of the board, you create the "7" shape. The overlapping threat is what makes it unstoppable.
The mirror version (building from right to left) works equally well. The best players can set up both versions and force the opponent into an impossible defensive position.
Tip #4: Use Forcing Moves to Control the Game
A forcing move is a threat that your opponent must respond to immediately — otherwise you win. Forcing moves are the most powerful tool in Connect Four because they let you dictate the pace and direction of the game.
When you create a three-in-a-row with an open fourth space, your opponent is forced to block. This means they lose their turn to play their own strategy. Skilled players chain forcing moves together: block by block, the opponent is pushed into positions they didn't choose.
Example: You have three red discs in a row horizontally in row 2. Your opponent must block on the open end. Now you create another threat — a vertical three-in-a-row in column 5. Your opponent must block again. Each forced response pushes their discs where you want them, and you're building toward your real winning pattern while they're just reacting.
The best forcing moves are the ones that also improve your own position. When you threaten to win, make sure the space you're building toward is useful for your next attack. A forced block from your opponent can actually set up your next trap.
Tip #5: Don't Stack Your Own Column Too High
It's tempting to keep dropping discs into the same column because you see a vertical opportunity. But stacking four discs in one column uses up all six available spaces, and the top discs become hard to incorporate into horizontal or diagonal lines.
The problem with tall stacks: If you fill a column to the top with your color, you've used that column entirely for vertical wins. But the discs in rows 4-6 are now very high on the board, and they can't easily connect to horizontal lines that are forming in the lower rows. Meanwhile, your opponent can use the columns on either side to build diagonal threats that bypass your tall stack entirely.
A good rule: don't place more than three discs in the same column unless you're actively completing a vertical four-in-a-row. Spread your discs across multiple columns to maintain flexibility for horizontal and diagonal threats.
Defense: Reading Your Opponent's Threats
Offense wins games, but defense prevents losses. The most common mistake in Connect Four is focusing so much on your own attack that you miss your opponent's winning threat.
Before every move, scan the board for two things:
- Three-in-a-rows: Does your opponent have three discs in a line with an open fourth space? If yes, you must block — there's no other option.
- Two-in-a-rows with open ends: These aren't immediate threats, but they're building toward something. A two-in-a-row with space on both sides is particularly dangerous because you can only block one direction.
Defensive example: Your opponent has yellow discs at column 2/row 2, column 3/row 3, and column 4/row 4. That's a diagonal threat. The only spaces to complete it are column 1/row 1 (below the start) or column 5/row 5 (above the end). If column 1/row 1 is still open, you need to decide whether to block there now or if blocking at column 5/row 5 gives you a better position for your next attack.
The art of defense in Connect Four isn't just blocking — it's blocking in a way that also advances your own strategy. The best blocks are ones that simultaneously defend against a threat and create a new one for you.
Strategy by Difficulty Level
| AI Level | Difficulty | Strategy Required | Expected Outcome |
|---|---|---|---|
| Easy | ⭐ | Basic center control, simple horizontal lines | Win in 10-15 moves |
| Medium | ⭐⭐⭐ | Forcing moves, diagonal attacks, lookahead planning | Competitive games, win with solid strategy |
| Hard | ⭐⭐⭐⭐⭐ | Perfect defense, threat prevention, center control | If you go first: win with perfect play. If AI goes first: draw is best |
Against Easy AI (Random Moves)
The Easy AI drops discs randomly without any strategic thinking. It doesn't block your threats, doesn't create its own, and doesn't care about column control. Against this opponent:
- Control the center column from the start
- Build horizontal lines along the bottom rows where gravity guarantees they'll stay connected
- You'll usually win within 10-15 moves
- Use this level to practice setting up the "7" trap pattern
Easy mode is your training ground. Set a goal to win every game without letting the AI create even a single three-in-a-row threat.
Against Medium AI (Mixed Strategy)
The Medium AI plays strategically about 60% of the time and makes random moves the other 40%. It will block obvious horizontal and vertical threats, and it occasionally creates its own attacks. This is where your strategy really matters.
- Use forcing moves to keep the AI on the defensive — it struggles to juggle multiple simultaneous threats
- Build diagonal attacks, which the Medium AI is less likely to notice and block early
- Watch for the AI's random moves creating accidental threats that you need to respond to
- Focus on controlling columns 2, 3, and 4 for maximum flexibility
Medium mode teaches you to handle a mix of strategic and unpredictable play. Games are competitive and will push you to think multiple moves ahead.
Against Hard AI (Unbeatable)
The Hard AI uses minimax with depth-limited search to play near-perfectly. It controls the center, creates complex multi-directional threats, and rarely leaves openings you can exploit. Connect Four is a "first-player win" game — whoever moves first can force a victory with perfect play. This means:
- Opening with center column is mandatory — anything else gives the AI an immediate advantage
- Focus on defense first — block every threat before building your own attacks
- If you move first: play aggressively and aim to win
- If the AI moves first: your only realistic outcome is a long, hard-fought draw
The Hard AI knows the theoretical solution. When it goes first, it will play optimally and you can only delay the inevitable. When you go first, you have the advantage — use it wisely.
Common Mistakes Players Make
- Ignoring vertical threats: Horizontal lines get most of the attention, but vertical three-in-a-rows are harder to block because they only need one specific disc to complete. Always check columns before making your move.
- Playing reactively: If you only respond to your opponent's moves without your own plan, you'll lose. Every defensive block should also improve your position for future attacks.
- Forgetting about diagonals: Diagonal four-in-a-rows are the hardest to spot because they span both columns and rows. They're also the hardest to block because they often come from unexpected directions.
- Overcommitting to one area: If all your discs are clustered on the left side of the board, a skilled opponent will build threats on the right where you have no presence. Spread your attacks.
- Not using the undo feature: When learning, use the undo button to experiment with different moves. See what happens if you block differently or attack from another direction. It's the fastest way to internalize strategic patterns.
The Math Behind Connect Four
Connect Four has been mathematically solved since 1988, when Victor Allis proved that the first player can always force a win with perfect play. Here are the numbers behind the game:
- Total possible board positions: 4,531,985,210,624 (over 4.5 trillion)
- Valid positions (following gravity): 761,591,697,280
- Game complexity: Solved by first player winning in at most 41 moves
- Winning lines possible: 69 total (24 horizontal, 21 vertical, 24 diagonal)
Despite being "solved," Connect Four remains challenging for human players because the solution requires looking ahead dozens of moves — something our brains struggle with in real time. That's why strategy tips like center control, forcing moves, and diagonal awareness matter: they give you heuristics that approximate good play without requiring perfect calculation.
Practice Drills to Improve
Strategy is only useful if you can execute it under pressure. Use these drills with our Connect Four game:
- Center control drill: Play 10 games where you make it your priority to get the most discs in column 3. Notice how controlling the center opens up more attacking options.
- Diagonal recognition drill: Play 5 games focusing only on creating diagonal threats. Before each move, ask yourself: "Does this move create or extend a diagonal line?" This trains your eye to spot diagonal patterns faster.
- Forcing moves drill: Play against Medium AI and try to win by chaining at least three forcing moves in a row. Each threat you create should force the AI to block, giving you another free turn to build your real attack.
- Defense drill: Let the Hard AI go first. Focus entirely on preventing it from winning. See how many moves you can survive. Remember: when Hard AI goes first, it has the theoretical advantage — drawing is a defensive victory.
Frequently Asked Questions
Is there a guaranteed way to win at Connect Four?
Mathematically, yes — but only if you go first and play perfectly. Connect Four was solved in 1988: the first player can always force a win with optimal play from the opening move (dropping into the center column). In practice, no human plays perfectly, which is why strategy matters. Against AI, the Hard difficulty plays near-perfectly: if you go first, you can win with precise play; if the AI goes first, it will likely win. The real challenge is learning when you have the advantage based on who moves first.
What's the best opening move?
Always drop your first disc into the center column (column 3). The center column participates in more potential four-in-a-rows than any other column because it's equidistant from both edges, giving you diagonal opportunities in both directions. If your opponent also plays center, fight for columns 2 and 4 on your next moves. Starting in edge columns (0 or 6) is the weakest opening because it limits your diagonal options to one direction.
How do I beat the Hard AI?
Connect Four is mathematically a first-player-win game — if you go first and play perfectly, you can force a win. But the Hard AI uses minimax search to play optimally, so the outcome depends on who moves first. If you go first, you can win with strong play (or draw if you make a mistake). If the AI goes first, your best realistic outcome is a draw. To maximize your chances: always control the center column, block threats immediately, avoid creating obvious two-in-a-rows the AI can exploit, and aim to fill the board so neither player connects four. Use Hard mode to sharpen your skills — if you can consistently win when going first, you've mastered the game.
What are the most common mistakes beginners make?
Three mistakes stand out. First, only looking at horizontal lines and ignoring vertical and diagonal threats — this lets opponents sneak wins you never saw coming. Second, playing reactively instead of building your own plan — if you only respond to your opponent's moves, you'll never create the multi-directional threats needed to win. Third, stacking too many discs in one column, which wastes column space and makes your discs inaccessible for horizontal and diagonal connections. Avoid these three mistakes and you'll immediately improve.
Is Connect Four good for kids?
Absolutely. Connect Four teaches strategic thinking, pattern recognition, and planning ahead — all in a game that takes 30 seconds to learn. Kids as young as 6 can understand the rules and start developing basic strategy. The game introduces fundamental concepts like cause-and-effect (every move changes what's possible later), threat recognition (spotting three-in-a-rows before they become four), and resource management (each column is a limited resource that fills up). It's one of the best board games for developing logical thinking in children.
What is the "7 trap" in Connect Four?
The "7 trap" is an offensive pattern where your discs form the shape of the number 7 (or its mirror). It creates two simultaneous winning threats — one horizontal and one diagonal — that share a critical disc. Your opponent can block one threat, but the other wins the game on your next turn. To set it up: build a diagonal from bottom-left toward upper-right while simultaneously placing discs along a lower row. When these two lines share a disc near the center, you create the unstoppable 7 shape. For a visual demonstration, see the Connect Four beginner's guide which includes diagrams.
How many possible board positions are there in Connect Four?
Connect Four has 4,531,985,210,624 total possible board positions — over 4.5 trillion. However, not all of these are valid because discs must follow gravity (they fall to the lowest available row). When you count only valid positions, there are 761,591,697,280 possible boards. Despite being mathematically "solved" in 1988 (proving first player can always win with perfect play), the sheer number of possibilities makes it practically impossible for humans to calculate optimal moves in real time. This is why strategic heuristics like center control and forcing moves are so valuable.
How long does an average Connect Four game last?
Most Connect Four games last between 2 and 5 minutes, depending on skill level. Against Easy AI, games end in 10–15 moves (under 2 minutes). Against Medium AI, games last 20–30 moves (3–4 minutes) with competitive play. Against Hard AI, games can stretch to the full 42 moves because both players play near-optimally. Our statistics panel tracks your average game time (Avg Time) across sessions, along with total games played and win rate, so you can monitor your pacing improvement over time.
Does going first in Connect Four really matter?
Yes — going first gives a decisive mathematical advantage. Connect Four was solved in 1988: the first player can always force a win with perfect play. In practice, if you go first and play well, you should win most games. If the Hard AI goes first, it plays optimally and will win or draw. Against human opponents, alternating who goes first each game keeps things fair. Track your win rate when going first vs second using the statistics panel — if there's a large gap, focus on improving your defensive play as the second player. For a deeper dive into first-move strategy, see the beginner's Connect Four guide.
Should I focus on offense or defense?
Both, but in a specific order. Always scan for your opponent's threats first — if they have a three-in-a-row with an open fourth space, you must block immediately or lose. Once you've handled their threats, shift focus to building your own attacks. The best players make each defensive block serve double duty: blocking the opponent while also advancing their own position. For example, if your opponent threatens a horizontal win and you block by dropping a disc that also extends your diagonal, you've defended and attacked simultaneously. This dual-purpose thinking separates intermediate players from experts. Learn more defensive patterns in our advanced pattern recognition guide, which applies similar threat-scanning skills.
Common Traps and Setups
Beyond the "7 trap," here are three other powerful patterns that win games:
The Double Threat
Create two separate three-in-a-rows that both need the same fourth disc to complete. Your opponent can only block one, and you win on the next turn. This works best when you've built threats from different angles — one horizontal, one diagonal.
The Staircase
Build discs in a diagonal staircase pattern (like steps going up). This creates multiple diagonal threats simultaneously. The key is to start low on the board where gravity works in your favor.
The Center Fork
Control the center column with 2-3 discs, then build horizontal threats on both sides. The center discs act as a fork, allowing you to attack left or right depending on how your opponent defends.
For more beginner-friendly strategies, check out our complete Connect Four tutorial, which covers the basic rules and first-game tactics.
Advanced Concepts: Lookahead Planning
Intermediate players think one move ahead. Advanced players think three to five moves ahead. Here's how to develop that skill:
- Before each move, ask: "After I drop here, what will my opponent's best response be?" Then plan your next move based on their likely reply.
- Identify forcing sequences: Look for chains of threats where each move forces a specific block, leading you to your winning position.
- Count column spaces: Each column has 6 spaces. If you need a disc to land in a specific row, count how many discs must fill that column first. This tells you how many moves ahead you need to plan.
- Track the parity: In the endgame, whether a column fills with an odd or even number of discs determines who gets the last drop. Use this to your advantage.
If you want to explore more connection-based strategy games, try Tic Tac Toe for faster rounds or Ultimate Tic Tac Toe for a mind-bending twist on the classic.
The Pre-Move Scan: Every Champion's 3-Second Ritual
Every experienced Connect Four player follows the same mental checklist before dropping a disc. This pre-move scan takes about 3 seconds but prevents 90% of unforced errors. Use it before every single move until it becomes automatic:
- Can I win right now? Scan all horizontal, vertical, and diagonal lines for any three-in-a-row with an open fourth space. If yes, complete it immediately.
- Can my opponent win on their next turn? If they have an open three-in-a-row, you must block it. No exceptions.
- Can I create two threats at once? Look for a setup where your next disc creates two separate winning lines. Your opponent can block one but not both.
- Does my move give my opponent an easy win? Before dropping, visualize what the board looks like after your move. Did you just set up a trap for yourself?
- Which column gives me the best follow-up? If they block your current plan, which column position leaves you with the strongest next move?
Example: You notice your opponent has three yellow discs in a diagonal (columns 2-3-4, rows 2-3-4). Column 5 row 5 is the winning space, but it's currently empty. You must block it on this turn. But before you drop, you scan: does dropping in column 5 set up a winning diagonal for them on their next turn? If column 5 row 5 completes your block but also extends their diagonal, you've lost. Always think one step ahead of your own defensive moves.
This scan routine is what separates players who win 70% of games from players who win 90%. The difference isn't brilliance — it's consistency. For a visual demonstration of how threats work across the board, see our Connect Four beginner's guide with interactive diagrams.
Odd-Even Row Control: The Secret Weapon Most Players Miss
Here's a strategy that wins games at the highest level but almost nobody talks about: odd-even row control. Every column has 6 rows. When a column is empty, the first disc lands on row 1 (odd), the second on row 2 (even), the third on row 3 (odd), and so on. This means:
- Player 1 (odd controller): Will always play in rows 1, 3, and 5 of any column they start first
- Player 2 (even controller): Will always play in rows 2, 4, and 6 of that same column
Why does this matter? Because you can use odd-even control to force your opponent into positions they can't escape. If you know you'll be the one to play in row 3 of a specific column, you can set up a horizontal threat at row 3 that your opponent literally cannot block — because they'll only ever play in the even rows of that column.
| Scenario | Odd Controller Advantage | How to Use It |
|---|---|---|
| You start the column | You control rows 1, 3, 5 | Build horizontal threats at row 3 — opponent can't reach it |
| Opponent starts the column | They control rows 1, 3, 5 | Don't fight for that column; build threats elsewhere |
| Column has 2 discs already | Whoever plays next controls row 3+ | Count the empty spaces below your target — is it odd or even? |
The "Threat Below" Trap
Combining odd-even control with strategic disc placement creates one of the most devastating tactics in Connect Four: the "threat below" trap. Here's how it works:
- You set up a horizontal three-in-a-row at row 3 (your odd row)
- Your opponent must block by placing a disc at row 2 (their even row) in that column
- But now you have a disc at row 4 (also your odd row), creating a vertical threat above their block
- They're forced to block row 4, which fills the column in a way that gives you the winning move at row 5
The key insight: when your opponent blocks you, they're placing discs exactly where you need them. Each forced block fills the column in a pattern that serves your next threat. This is why odd-even control is called the "secret weapon" — it turns your opponent's defense into your offense.
Endgame Parity: Who Gets the Last Move?
In the final third of the game, when columns are filling up, a concept called parity determines who controls the last move in each column. Parity is simple: count the empty spaces in a column. If there's an odd number, the player who started that column gets the final move. If there's an even number, the other player does.
Why does the last move matter? Because it often determines who wins endgame battles. If a critical winning space is at the top of a nearly-full column, parity tells you whether you or your opponent will reach it first.
Endgame parity checklist: Before the board gets crowded, mentally track which columns you'll have the last move in. If you're Player 1 and a column has 3 empty spaces (odd), you'll play the final disc there. If it has 4 empty spaces (even), your opponent will. Use this to plan your winning threats — aim to set up horizontal lines at the row where you know you'll have parity control.
Parity is especially important against strong opponents who also understand this concept. When both players know parity, the game becomes a battle of who can manipulate the column counts to their advantage. For more on how pattern recognition works in strategic games, see our pattern recognition training guide.
Connect 4 Strategy: How to Win Every Time
There is no magic connect 4 cheat code, but there is a proven strategic framework that wins consistently against any opponent. Connect 4 strategy comes down to five principles working together:
- Center column control — the first move and every early-game priority should fight for column 3. The center participates in more winning lines than any other column.
- Bottom-up threat building — gravity means the lower rows fill first. Place your foundation discs in rows 5 and 4 (the bottom two), then build upward. Early bottom-row control determines what's possible in the mid-game.
- Forcing moves — every three-in-a-row with an open fourth space forces your opponent to block, costing them a turn. Chain forcing moves together to push your opponent into positions they never chose.
- The 7 trap — when your discs form the shape of the number 7 (a diagonal plus a horizontal sharing a critical disc), you create two unstoppable threats. See the detailed 7 trap section above.
- Tempo and parity — in the endgame, whether a column fills with an odd or even number of discs determines who gets the last drop. Count column spaces to predict which player controls the final move in each column.
Master these five principles and you will beat most casual opponents within 20 moves. Against stronger players, the game becomes a battle of who spots the winning forcing sequence first. For a beginner-friendly walkthrough of these concepts, see our Connect Four beginner guide.
Zoom Controls: Adjust the Board Size for Better Visibility
Our Connect Four game includes a zoom slider (🔍 icon) that lets you scale the board from 50% to 200%. Drag the slider to enlarge or shrink the playing area. This is especially useful for analyzing complex board states or when playing on smaller screens. Your zoom preference is automatically saved in your browser's localStorage, so the board appears at your preferred size every time you play.
When to use zoom:
- On mobile devices: Zoom in to 150-200% to see the disc placements more clearly and plan your moves with precision
- On desktop: Keep at 100% for the standard experience, or zoom out to 80% for a compact overview of the entire board
- For strategic analysis: Zoom in to 120-150% when setting up traps to visualize forcing sequences more clearly
The zoom feature uses GPU acceleration, so it runs smoothly without affecting game performance.
4 in a Row Strategy: The First-Move Advantage
In 4 in a row strategy, the single most important factor is who moves first. Connect Four is mathematically solved: the first player can always force a win with perfect play (Victor Allis, 1988). This means going first gives you a significant advantage — if you play optimally, you cannot lose.
Here is how to use this knowledge practically:
- When you go first: Open with the center column (column 3). Then play aggressively — build threats, create forcing sequences, and push for a win. You have the mathematical advantage; use it.
- When you go second: Your realistic goal shifts from winning to drawing. Block every threat immediately, avoid creating weaknesses, and wait for the first player to make a mistake. Against imperfect opponents, mistakes are inevitable, and a single error flips the advantage.
- In online play: Many platforms alternate who goes first each game. Track your win rate when going first vs second — if you win 80%+ as first player but only 30% as second player, focus on improving your defensive play.
There is no guaranteed trick to win every connect 4 game — but understanding the first-move advantage and playing solid fundamentals will win you the majority of games against casual opponents. The connect 4 tips on this page work because they approximate the optimal strategy that mathematicians proved exists.
Ready to Test Your Strategy?
Put these tips to work in our free online Connect Four game. Start with Easy AI to practice center control and trap setups, then challenge Medium to test your forcing moves, and finally face Hard AI to see how strong your defense really is.
Track Your Progress: Statistics Panel & Keyboard Shortcuts
Our Connect Four game includes a built-in statistics panel that automatically tracks your performance across sessions using localStorage, so your data persists even after closing the browser. The panel displays two key metrics: Played (total games started) and Win Rate (calculated as a percentage of wins vs total games). Watching your win rate climb over dozens of sessions is a tangible indicator that your column control and trap-setting skills are improving. For a deeper look at how tracking progress boosts learning, see our guide on improving concentration with games.
Speed up your gameplay with global keyboard shortcuts that work even after a game ends: press R to restart the current board instantly, M to toggle sound effects mute, or Ctrl+Z (or Cmd+Z on Mac) to undo your last move. The undo shortcut is a powerful learning tool — when practicing traps or testing different openings against Hard AI, press Ctrl+Z to take back a disc you regret without losing your entire session. You can chain multiple undos to walk back several moves, making it ideal for experimenting with the 7 trap setup or replaying a critical mid-game decision. These keyboard shortcuts let you chain practice rounds without reaching for the mouse — ideal during quick work breaks. For more on effective practice routines, explore our guide to puzzle games for work breaks.
The game also features an optimized AudioContext system that prevents memory leaks by reusing a single audio context instead of creating new ones for each sound effect. This ensures smooth performance even during extended play sessions. All of these features work seamlessly with the free online Connect Four game.
Compete with Friends: Local Leaderboard System
Challenge yourself to beat your best times with the built-in leaderboard system that tracks your top 10 fastest victories locally in your browser. After winning a game, you'll see a "Save Score" button (🏆) that records your victory time and difficulty level. The leaderboard displays your best performances with medal icons — 🥇 for fastest time, 🥈 for second, and 🥉 for third — giving you a visual target to beat. You can filter entries by difficulty (Easy/Medium/Hard) or view all times combined, and the Reset button lets you start fresh whenever you want. This local tracking system is perfect for challenging friends to see who can achieve the fastest victory. For more on how competitive tracking enhances engagement, see our guide to puzzle games for parties and group activities.
Explore More Strategy Guides
Want to sharpen your strategic thinking across different games? Check out these related guides:
- How to Play 2048: Complete Guide for Beginners — master tile merging and planning ahead
- 2048 Strategy Guide: Advanced Tips and Techniques — learn expert-level tactics
- Tic Tac Toe Strategy: How to Win Every Time — perfect-information game theory
- How to Play Minesweeper: Complete Guide — logical deduction and pattern recognition
- Minesweeper Advanced Techniques and Patterns — expert-level solving strategies
- How to Play Sudoku: Complete Guide — number puzzle fundamentals
- Sudoku Strategy: From Easy to Expert — progressive difficulty mastery
If you enjoy strategic connection games, you might also like Sudoku for pure logic puzzles, Minesweeper for deduction challenges, or 2048 for spatial planning.